Placing Notes
The Notes  tab provides a selection UI for all Note definitions that are associated with the current context node.
The complete tab can be hidden via a configuration setting if you do not want to use this functionality.
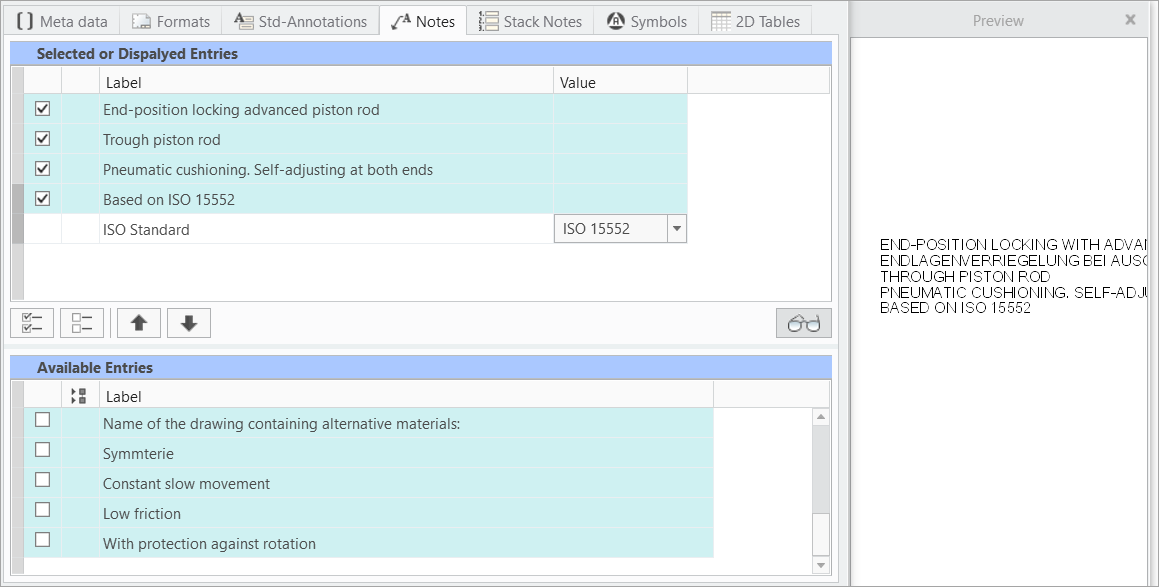
- The display is split into three areas.
- Available Entries (Lower display) — Available entries associated with the filter node are listed here
- You may expand
 or collapse
  the value rows and column to improve the visibility
- You may expand
- Selected or Displayed Entries (Upper display) — All selected items and its values are displayed here
- Preview area (Attached to the right) — Live preview of your Note configuration including all values and choices (2D mode only)
- Available Entries (Lower display) — Available entries associated with the filter node are listed here
- The Label column indicates the Notes label. It may not be equal with the containing text. When you move the mouse over the text label, a tooltip with the complete text will appear.
- The Value column is for entering values or choosing from pull-down lists.
Selection
- Select entries from the Available Entries one by one or all
 .
.- The selected notes are displayed in the Selected or Displayed Entries area.
- You can sort the entries with the

 buttons.
- (Optional) Open the Preview area
 and view the live status of your note configuration (2D mode only)
 - One entry may contain multiple rows. A headline and several value or choice rows. The complete entry is marked with a dark bar when selected.
- (Optional) Enter a value or chose from a pull-down list if necessary.
- The Preview is updated according to your selection and choices. Use the return-key to finish an entry.
Placement
- Use the Plus
 to start placing the notes.
- The SMARTAnnotate dialog will disappear and the Settings tab in the Ribbon will open.

- The SMARTAnnotate dialog will disappear and the Settings tab in the Ribbon will open.
- Chose the Attachment Type from the pull-down menu.
- Free — Unattached placement
- With Leaders — Select one or multiple attachment points
- On Entity — Select a geometry item that the note will placed on
- Offset — Select a 2D item and chose an offset from there.
- Chose the Leader Type from the pull-down menu
- Chose the Arrowhead style from the pull-down menu
- Finish the placement
- Select OK
 or use MMB to finish the placement.
- The SMARTAnnotate dialog will re-open automatically and you can continue with another set of notes.
- Select Cancel
 to cancel the placement.
- The SMARTAnnotate dialog will re-open automatically and you can continue with another set of notes.
- Select Redo
 to start over with the placement.
 - Select Repeat
 to keep the current instance of the note and add another one
- Select OK