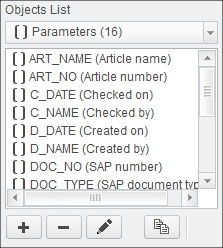
Parameters and Parameter Sets
The Parameter object contains the definition of a parameter that can be used in drawing mode or 3D mode. The Parameter Set is a collection of Parameters.

Adding Parameters
- Select Add new object
 or select Edit existing objects
  or use
  to copy an existing entry and modify from there.
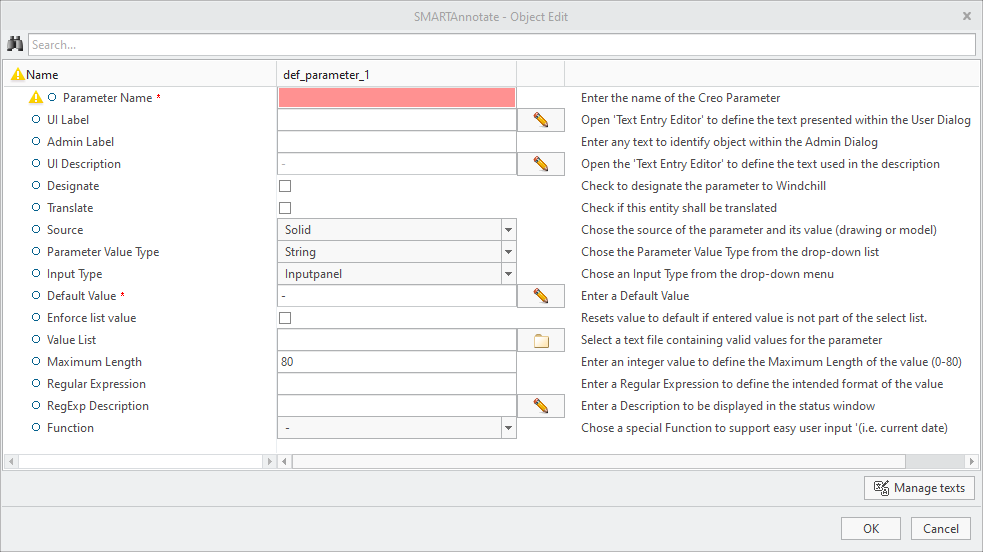
- The Object Edit dialog appears.
- The Object Edit dialog appears.
- Type in the Creo Parameter name that you want to call out.
- Select
 to enter the UI Label that is displayed in the user dialog.
- Enter an Admin Label that is used for distinction within the administration dialog.
- Select to enter a UI Description that will be displayed in the Description column in the user dialog.
- Check the Designate check box if this parameter shall be designated to Windchill.
- Check the Translate check box if the value of this parameter shall be translated. For each configuration language an unique instance is automatically created using the parameter name as a basis and a language specific suffix. E.g. if the parameter name is set to “MY_PARAM” and the translate attribute is set, the parameters “MY_PARAM_EN”, “MY_PARAM_DE” and “MY_PARAM_CN” could be created and updated. If the user changes the parameter value via drop down list in the user interface, the corresponding translation for the chosen value is applied to all language instances of the parameter. The suffixes are defined for each language within the corresponding xml file (<configuration directory>\translations\<language name>\san_language_settings.xml) under the node “<param_suffix>”.
- Choose the Source of the parameter from the pull-down menu.Use Solid to call out parameter values from the 3D model or Drawing to call out values from the 2D drawing.
- Choose the Parameter Value Type from the pull-down menu.
- Choose the Input Type from the pull-down menu to define how the user can edit the parameter value. You can choose from the
following options:
- Read-Only — Value is displayed, but user cannot change
- Inputpanel — User can type in a value
- Optionmenu — User can select from pull-down menu only
- Optionmenu (editable) — User can select from pull-down menu or can type in a value
- Enter a Default Value. Use ‘-’ for no value.
- (Optional) You may select
 to specify a Value List (text file) from the /lists folder. You also can enter a semicolon separated string.
- Enter the Maximum Length of the parameter value. The maximum length that Creo allows is 80 characters. The user will only be able to enter characters up to the specified length.
- (Optional) Enter a Regular Expression to specify the format of the value. Refer to the Internet (i.e. Wikipedia) for explanations.
- (Optional) Enter a RegExp Description to be displayed in the Parameter Status Window. This helps the user to understand when the entered value does not match the regular expression.
- (Optional) Choose a Function from the pull-down menu. Currently two functions are available.
- Login name — the value of the ‘USERNAME’ environment variable
- Today’s date — the current date is used (format is set in the configuration)
Adding Parameter Sets
- Select Add new object or select Edit existing objects or use to copy an existing entry and modify from there.
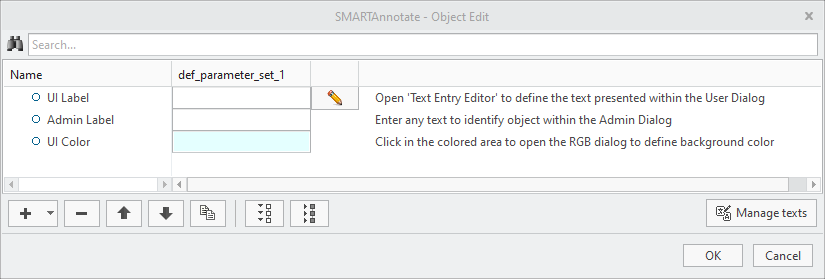
- The Object Edit dialog appears.
- The Object Edit dialog appears.
- Select to enter the UI Label that is displayed in the admin dialog.
- (Optional) Enter an Admin Label that is used for distinction within the administration dialog.
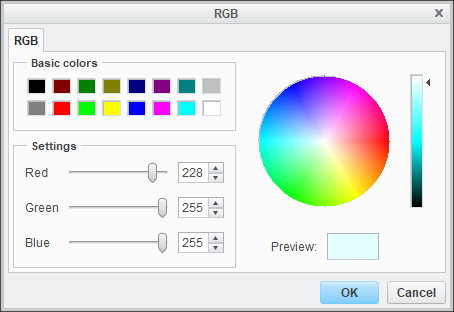
- (Optional) Click in the color bar and the Color UI dialog opens. Define a background color for the current Parameter Set within
the user dialog.
- Choose
- A new Parameter entry is created within the Object Edit dialog

- A new Parameter entry is created within the Object Edit dialog
- Choose an existing Parameter from the pull-down menu.
- Repeat for all intended parameters in the set.