To Modify Clamping Plates and Adjust Components
Download 20_To Modify Clamping Plates and Adjust Component to start from with this chapter.
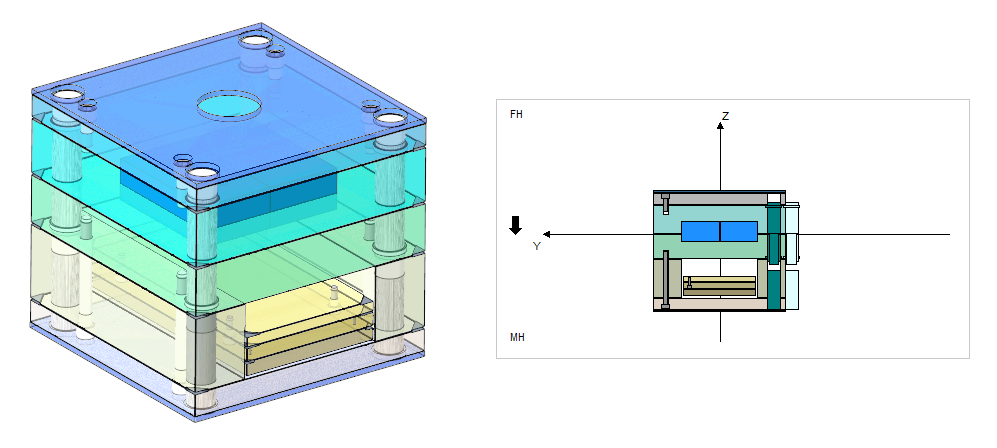
Modify Clamping Plates
If a invalid plate was assembled to the mold base it’s type can easily be changed.
- Open the Mold Base Definition dialog box.
- Click with right-mouse button on the fixed half clamping plate in the side view and click
 Modify.The Plate dialog box appears.
 - Switch the Type to F45.
- Select a Thickness of 36 mm.
- Click OK to leave the dialog box.

- Repeat the same procedure for the Clamping Plate MH.
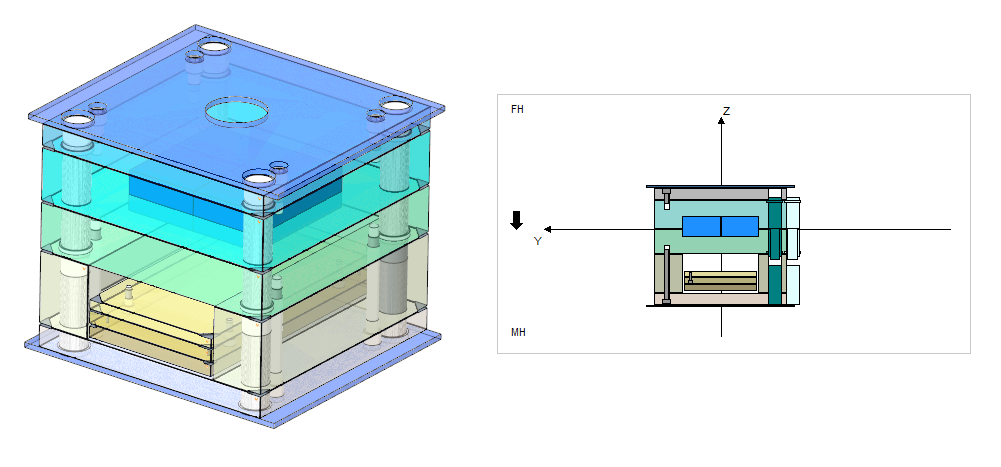
Adjust Clamping Screws due to new Plate Thickness
Due to new the new thickness of the clamping plates the screw need to be adapted manually.
- Double-click on the Clamping Screw FH either in the side view or in the summary tree.The Screw dialog box opens.
- Set the length LG1 to 40 mm.
- Close the dialog box with OK.
- Double-click on the Clamping Screw MH either in the side view or in the summary tree.The Screw dialog box opens.
- Set the length LG1 to 160 mm.
- Close the dialog box with OK.
Adjust the Insulation Plate Size
The insulation plates need to be changed as well.
- Double-click on the Thermal Insulation Plate FH either in the side view or the summary treeThe Thermal Insulation Plate dialog box appears.
- Change the INSULATION_ES_WIDTH value to 396 that it fits to the clamping plate.
- Close the dialog box with OK.
- Repeat the same procedure for the Thermal Insulation Plate MH.