Working with Standard Parts from Windchill
To assemble standard parts from Windchill several configuration tasks need to be done.
Provide a Custom Configuration using the EMX _USER_CONFIG_PATH variable
In the beginning it is necessary to provide a custom configuration.
The goal is that all users within a company are working with the same configuration.
To fulfill this goal several tasks need to be done:
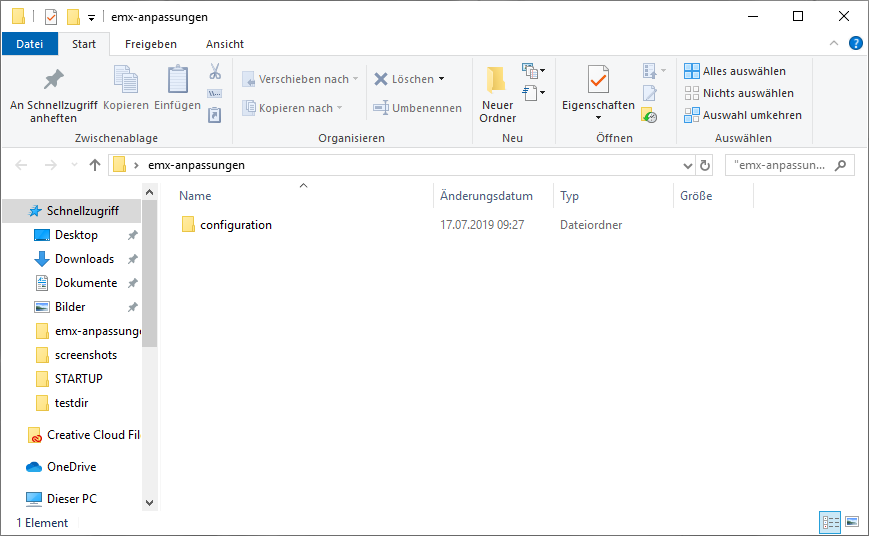
- The standard configuration folder from the EMX installation "emx-installation-path\configuration" needs to be copied to a server location which is visible for all users, i.e. "<server-path>\emx-adaptions\configuration".
- This folder should have writing restrictions for all users and should only be modified by the administrator.
- Finally, it is required to set the Windows variable EMX_USER_CONFIG_PATH to the value <server-path>\emx-adaptions for all users. EMX will then find the custom configuration at this location.
Set EMX Option PDM_SYSTEM
- In the EMX Options
 the configuration option PDM_SYSTEM needs to be set to 2 - Windchill.
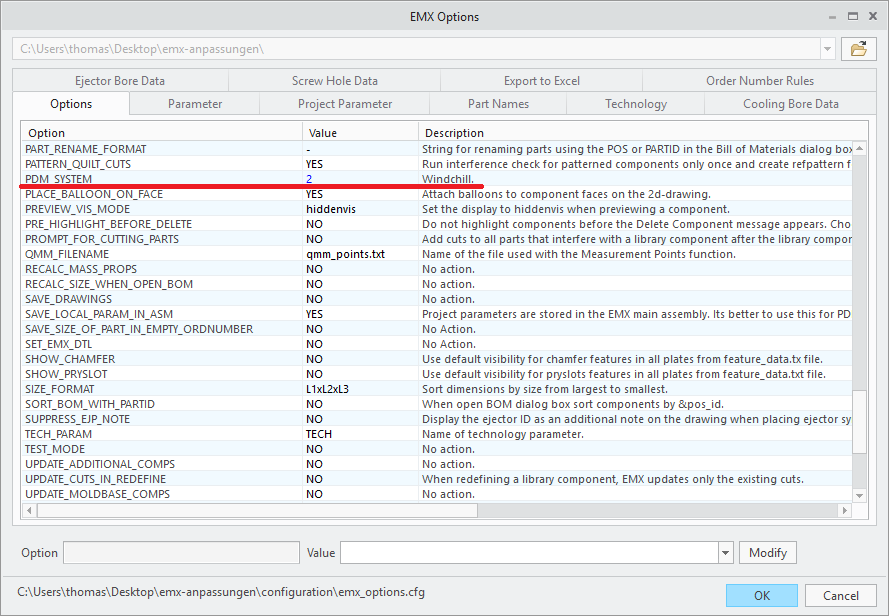
Configure Part Names in EMX Options
In the EMX Options Part Names the part name rules have to be adapted in a way that the resulting part name is project independent.
ID (<id>) or project prefix (<pre>) have to be removed.
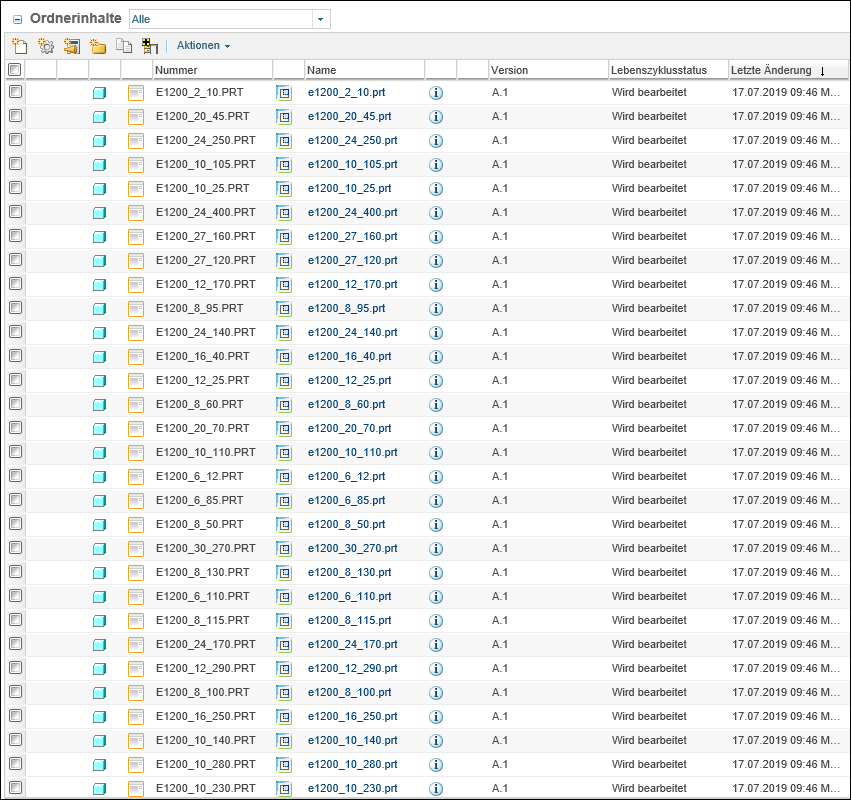
- For the screw E1200 with the according template file screw_E1200.prt the part name rule is set to <instance>.
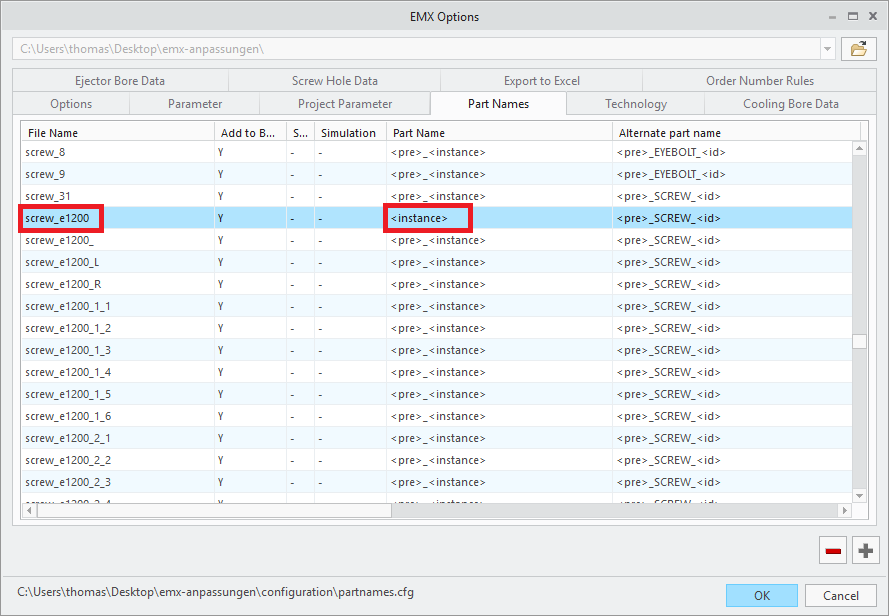 As a result the name will be, i.e. E1200_8_60. These instance names come from the dimension tables in the *.dat file.
Reduce Variety of Selectable Components in the Screw Dialog Box
When working with standard parts from Windchill it make sense to only provide the component types which are actually administered
in Windchill.
To achieve these goal the available suppliers and screw types need to be reduced.
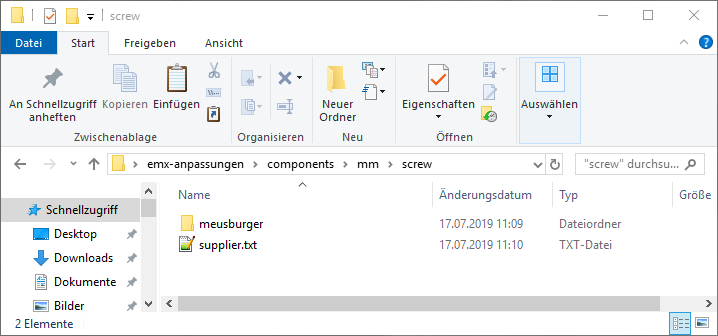
The supplier list can be restricted by providing a adapted supplier.txt file in the correct location. This file needs to be placed to the following path in the custom configuration.
EMX_USER_CONFIG_PATH\components\mm\screw\supplier.txt
As template, the equivalent file from the EMX standard installation can be copied.
<emx-installation-path>\components\mm\screw\supplier.txt
In general can be said: If a file is found in the custom configuration, it has a higher priority compared to the equivalent
file from the standard installation and will be used instead.
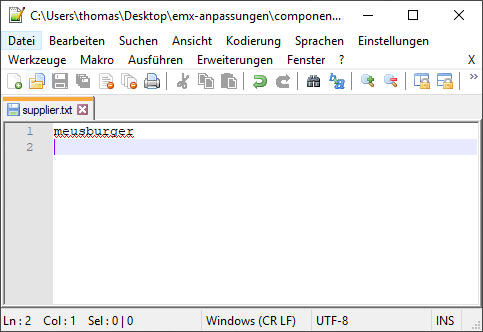
- In the given example the content of the supplier.txt is therefore reduce to meusburger only.
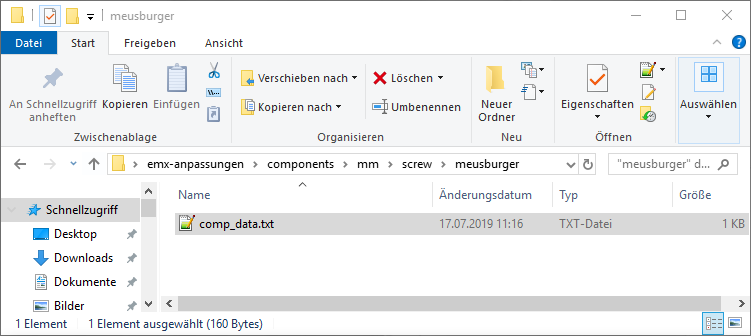
The restrictions for the screw types follow a similar pattern. An adapted comp_data.txt needs to be created. The location is however inside a supplier specific folder.
EMX_USER_CONFIG_PATH\components\mm\screw\meusburger\comp_data.txt
As template, the equivalent file from the EMX standard installation can be copied.
<emx-installation-path>\components\mm\screw\meusburger\comp_data.txt
In this comp_data.txt all lines except the relevant E1200 line have to be deleted.
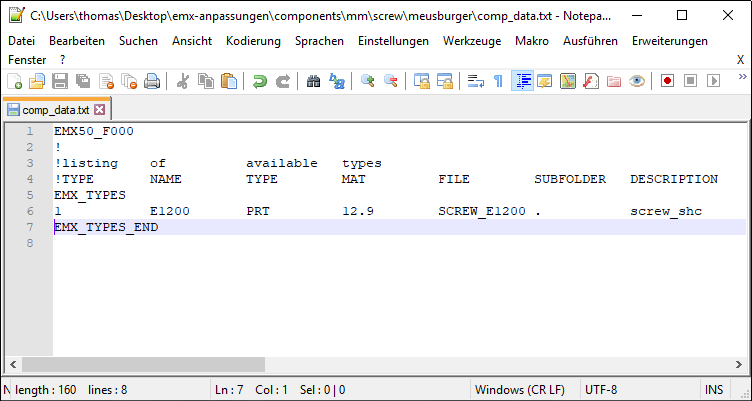
In the screw dialog only E1200 screws from Meusburger can be assembled.
Create All Screw Instances
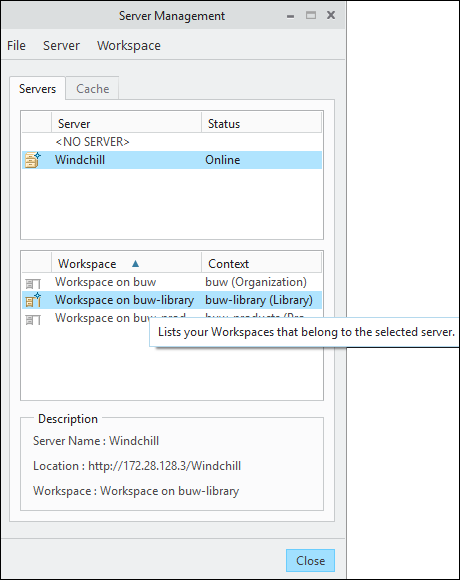
Before creating the all instances of the E1200 screw one should connect to the Windchill-Server and login as and administrator.
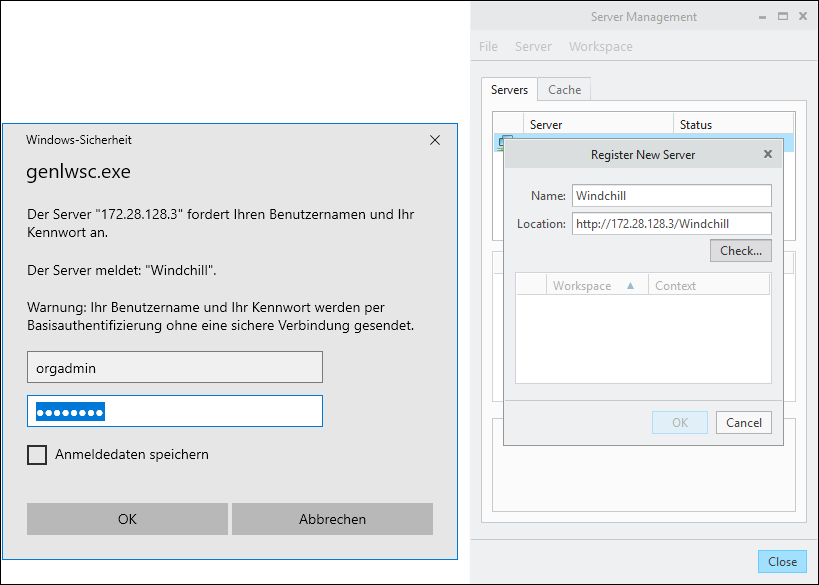
The Workspace for the Windchill library should also be activated.
Using the Component Editor  all instances of a component can be created.
Therefore theses steps a required:
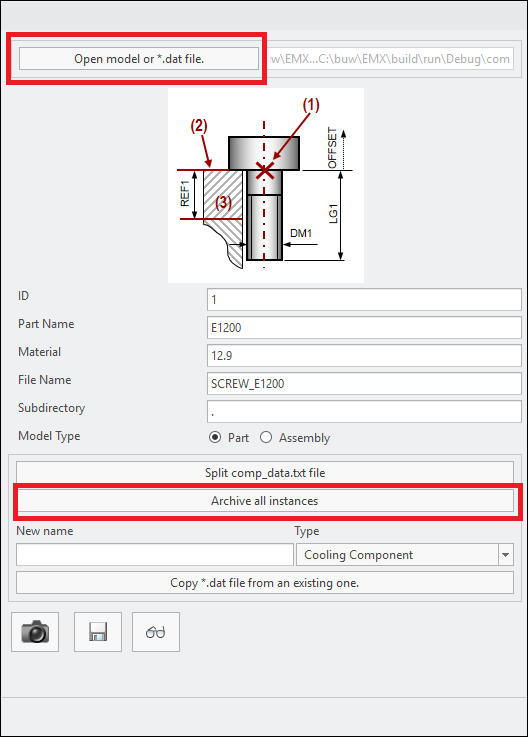
- Open the Component Editor
- Open the file E1200.dat from the standard installation <emx-installation-path>\components\mm\screw\meusburger\E1200.datusing Open model or *.dat file
- Click the button Archive all Instances.All Instances are saved to the current workspace.
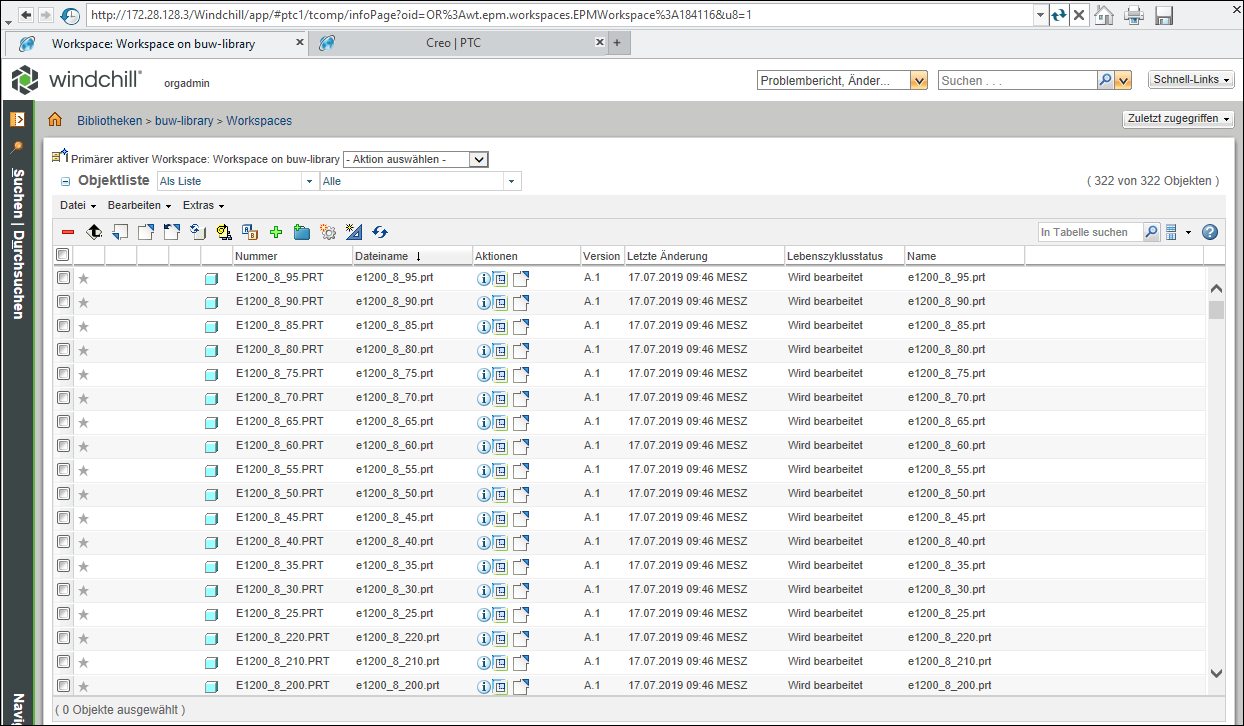
Check in all Instances to the Windchill Library
To provide the created instances to all users it is now necessary to store the models in a structured way in the Windchill
library.
It is recommended to use a folder structure which is similar to the folder structure in the EMX standard installation.
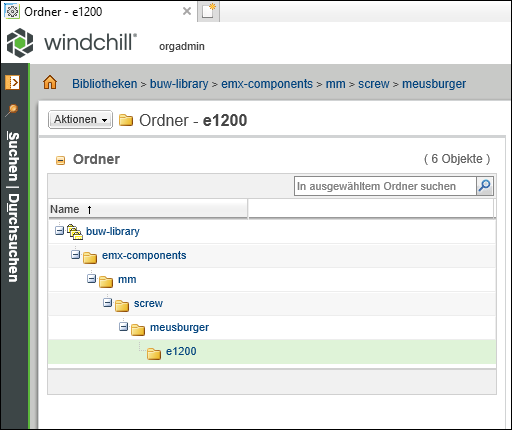
For the example screw Meusburger E1200, the following structure is used.
buw-library > emx-components > mm > screw > meusburger > e1200
Using this structure has several advantages. The stored EMX standard parts library can be extended easily step-by-step in
the future. Furthermore, it is quite simple to find the models even after a longer period of time.
Using the Windchill Check-In mechanism the files can be stored in the e1200 folder.
After this step EMX is fully configured and screws can now be pulled from Windchill.
Assembling EMX Components from Windchill (User)
From a user perspective not much changes during the assembly procedure of components.
However, within the screw dialog box the user is now informed about the source of the model.
In case a model is found in the common space by the part names rule, an additional icon with a short message The model is found in common space is displayed in the bottom area of the dialog.

In case no model was found in common space and the standard assembly procedure is used, an alternative message The model is created from local template file appears.

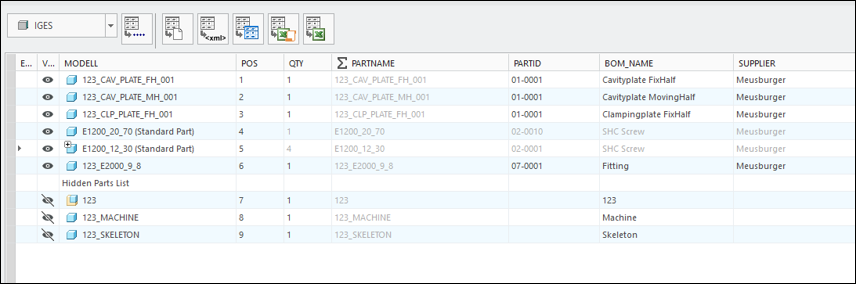
Additionally, the standard part status is also visualized in the Bill of Materials. Parameters can not be edited and are therefore
disabled.